
Steal and Cure a Zombie Safe Zone Location and Route Guide
The safe zone location in Steal and Cure a Zombie sits directly at the end of the return path from the hunt hallway, right before your home laboratory. Reaching this zone breaks the guardian chase and protects captured zombies.
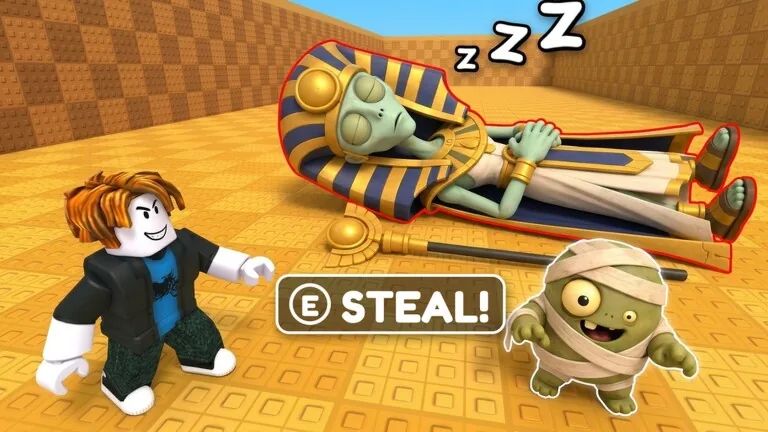
The safe zone location in Steal and Cure a Zombie sits directly at the end of the return path from the hunt hallway, right before your home laboratory. Reaching this zone breaks the guardian chase and protects captured zombies.
Safe Zone Boundary and Surroundings
KuinfWorld designed the core loop of Steal and Cure a Zombie around clear spatial transitions. The safe zone acts as the dividing threshold between the hostile hunting grounds and your private base facilities.
When you leave your base to collect creatures, you move toward the hunt hallway location. The return path leads straight back toward your personal compound. The boundary line of the safe zone is positioned right outside the entrance to your lab. Stepping across this line ends the pursuit phase immediately. Keeping this destination in sight before taking a zombie helps you sprint along the shortest path without colliding with obstacles.
Guardian Mechanics on the Return Path
Grabbing a zombie triggers a pursuit. A hostile guardian spawns or targets your avatar the moment you steal a specimen from the hallway. Because you must carry the zombie in hand, you cannot start curing while on the run.
Learning how to escape the guardian requires managing movement lines and foot speed. Running in a straight path toward the safe zone minimizes travel time. If a guardian catches up to you before you cross the perimeter, your run fails and the creature is lost. The safe zone functions as an absolute safety barrier where the guardian disengages, allowing you to walk freely into your facility.
Speed Thresholds for Distant Exploration
While the base safe zone remains fixed at your home compound, the distance you travel to find specimens increases as you unlock farther areas. Farther zones require greater movement speed to make the round trip before a guardian intercepts you.
The developer places recommended speed values on signs near entryways to give players clear benchmarks. Preparing your movement stats through treadmill training allows your character to handle longer return runs from high-tier environments back to the safety perimeter.
| Hunting Environment | Target Situation | Route Requirement |
|---|---|---|
| Hunt Hallway | Initial collection runs | Base running speed and a straight retreat to safety |
| Moon Area | Mid-tier zombie collection | 70M speed recommendation shown on area signage |
| Dragon Region | Hunting targets like Cinderus | 400M speed recommendation before attempting the return |
| Void Region | Late-game zone exploration | 3B speed recommendation to outrun regional guardians |
Moving from Safety to Laboratory Curing
Crossing into the safe zone completes the second objective of the game loop and brings you directly to the lab location. Once past the boundary line, you no longer face pressure from chasing enemies.
Inside the lab, you interact with the vacuum tool to cleanse the captured creature of visible infections. Once the vacuum treatment finishes, the cured creature changes appearance and can be transferred into your pen location. Cured zombies placed in pen slots generate steady cash, which funds further treadmill speed training and unlocks access to distant regions.
Next step
Arabic Gameplay
Review Arabic interface details, step-by-step room progression, and official Robux shop upgrades for KuinfWorld's simulation title on Roblox.